
Submit an expense
Submit an expense
Section titled “Submit an expense”Submit an expense you have paid for on behalf of the syndicate. Once approved, it becomes a credit on your member balance.
Before you start
Section titled “Before you start”- Any member of the syndicate can submit an expense, except viewers, who are read-only. The Submit Expense row is hidden for them, and also while the syndicate is closed or restricted.
- Attach a receipt photo if you can; admins see it when reviewing.
- Amounts are entered without VAT (unless your syndicate’s convention is different).
- Open the syndicate. You land on the Dashboard tab.
- In the My Syndicate card, tap Submit Expense. Route:
/syndicates/:syndicateId/expenses/new. - Enter the Amount (for example,
85.50). - Pick a Category:
- Fuel
- Oil
- Cleaning
- Hangarage
- Maintenance
- Supplies
- Other
- Enter a Description: what the expense was for (for example, Fuel receipt, 50 litres avgas).
- Set the Expense Date: the day you paid.
- Tap Attach Receipt to add a photo. An icon card appears with Receipt attached; use the remove icon to clear it.
- Tap Submit Expense.
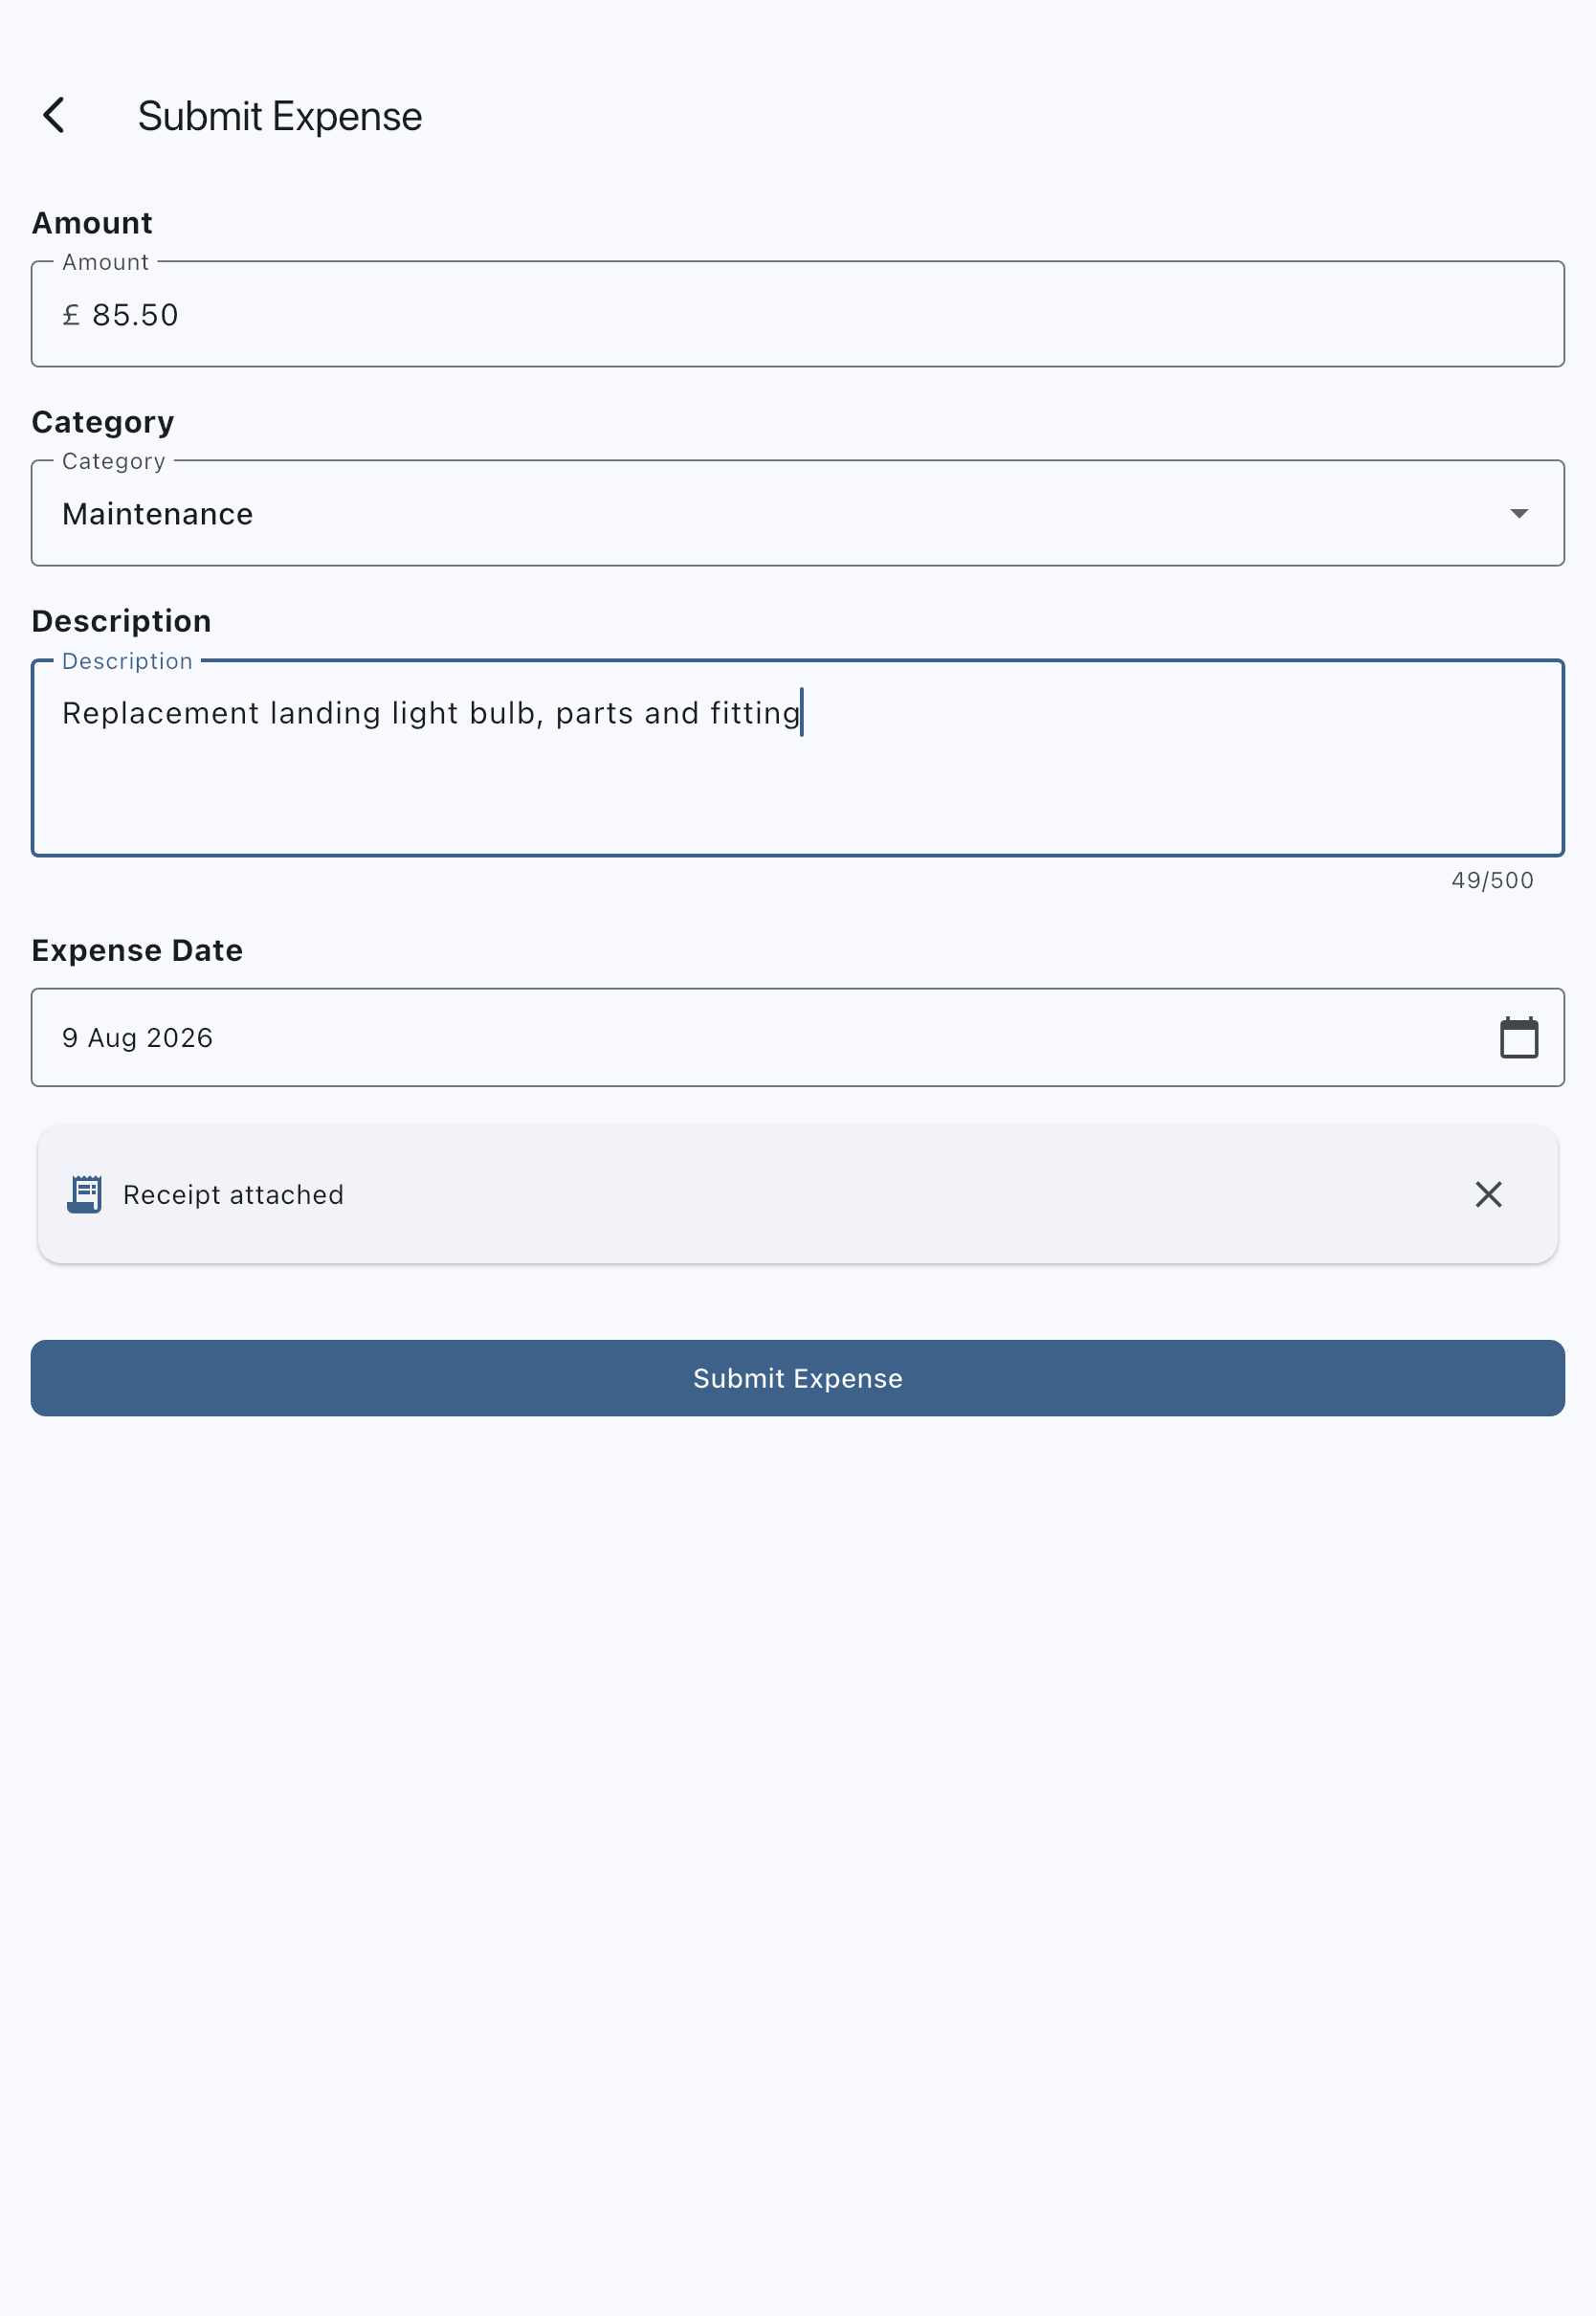
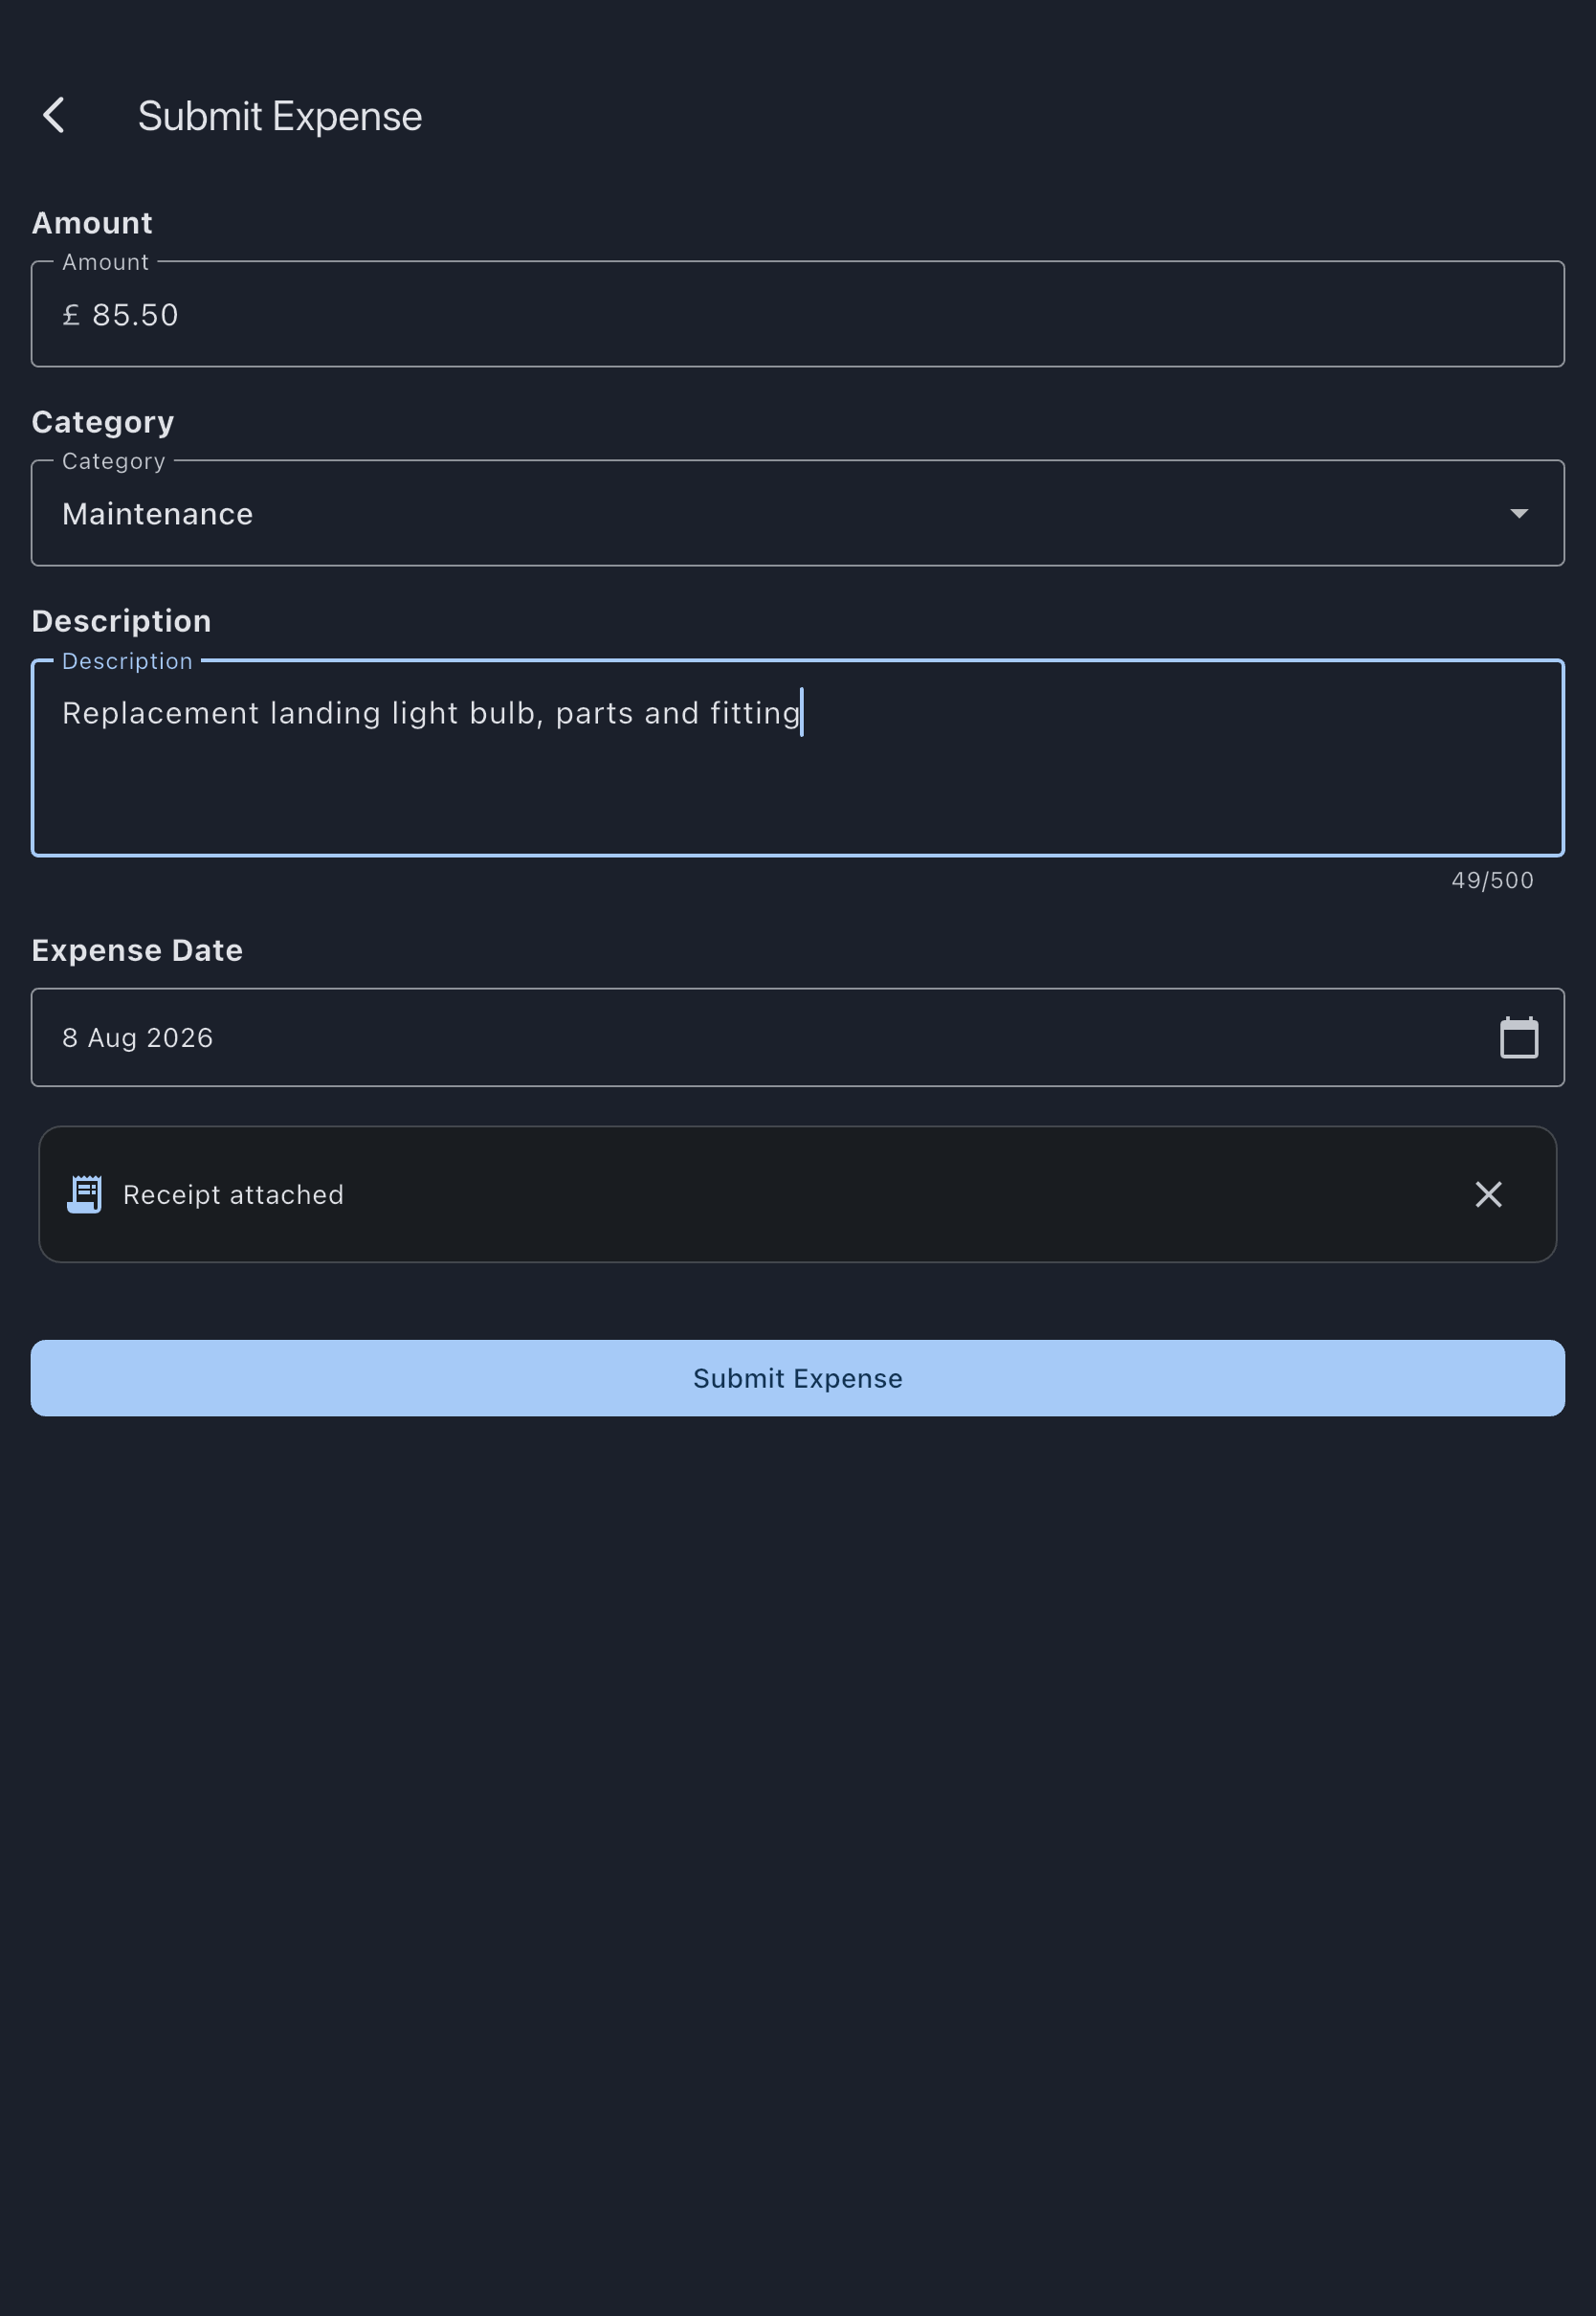
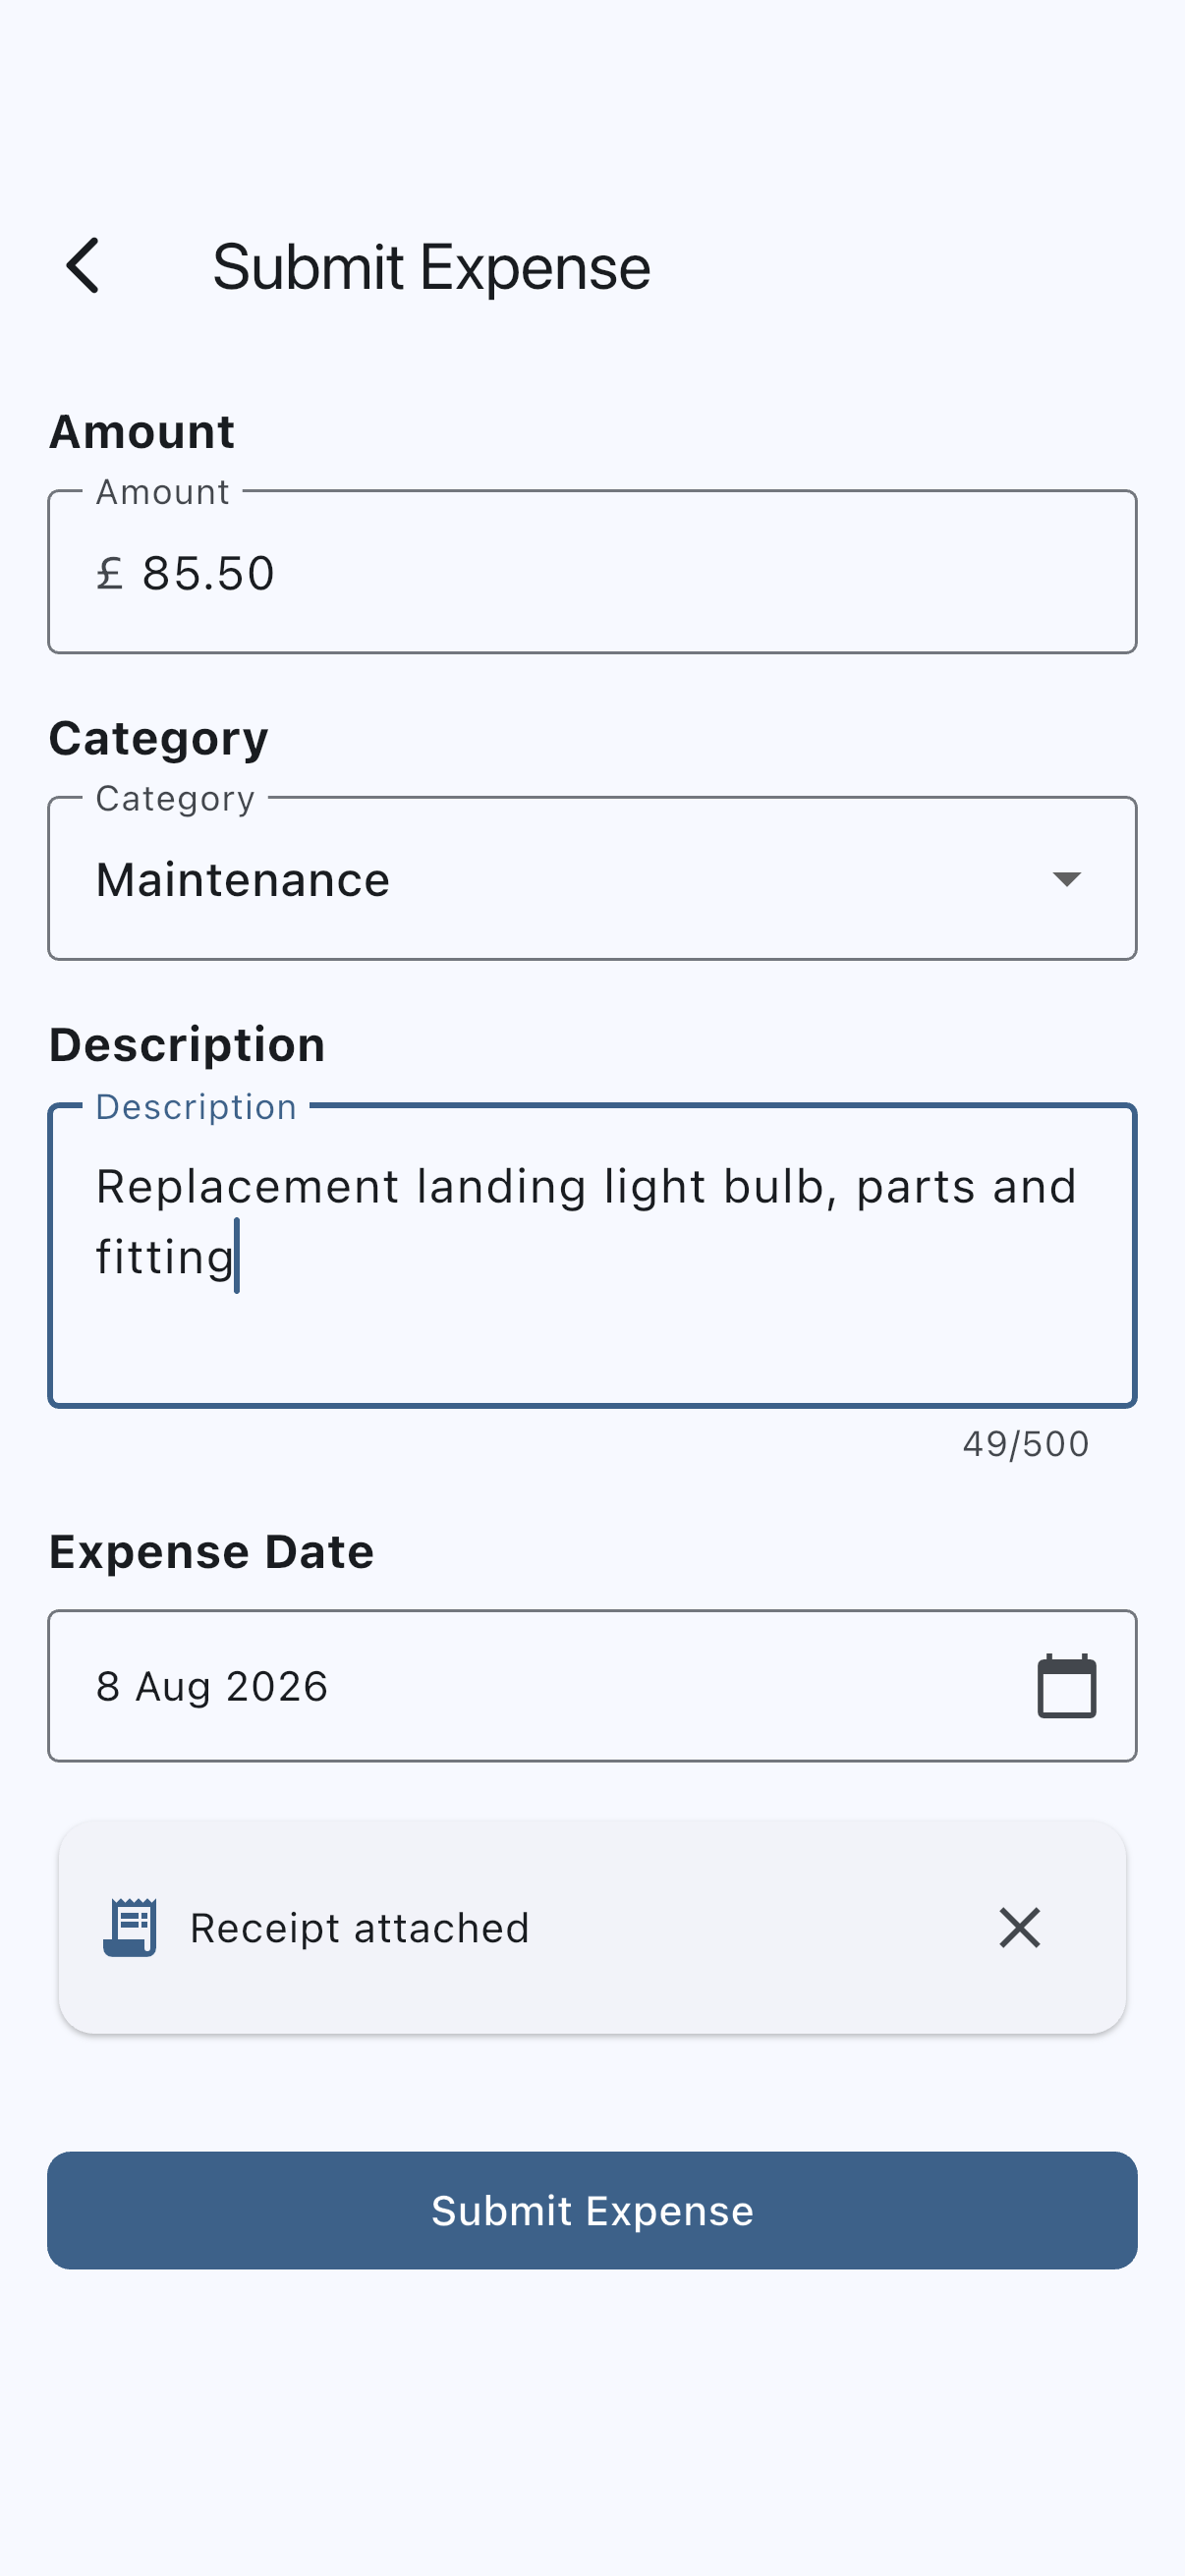
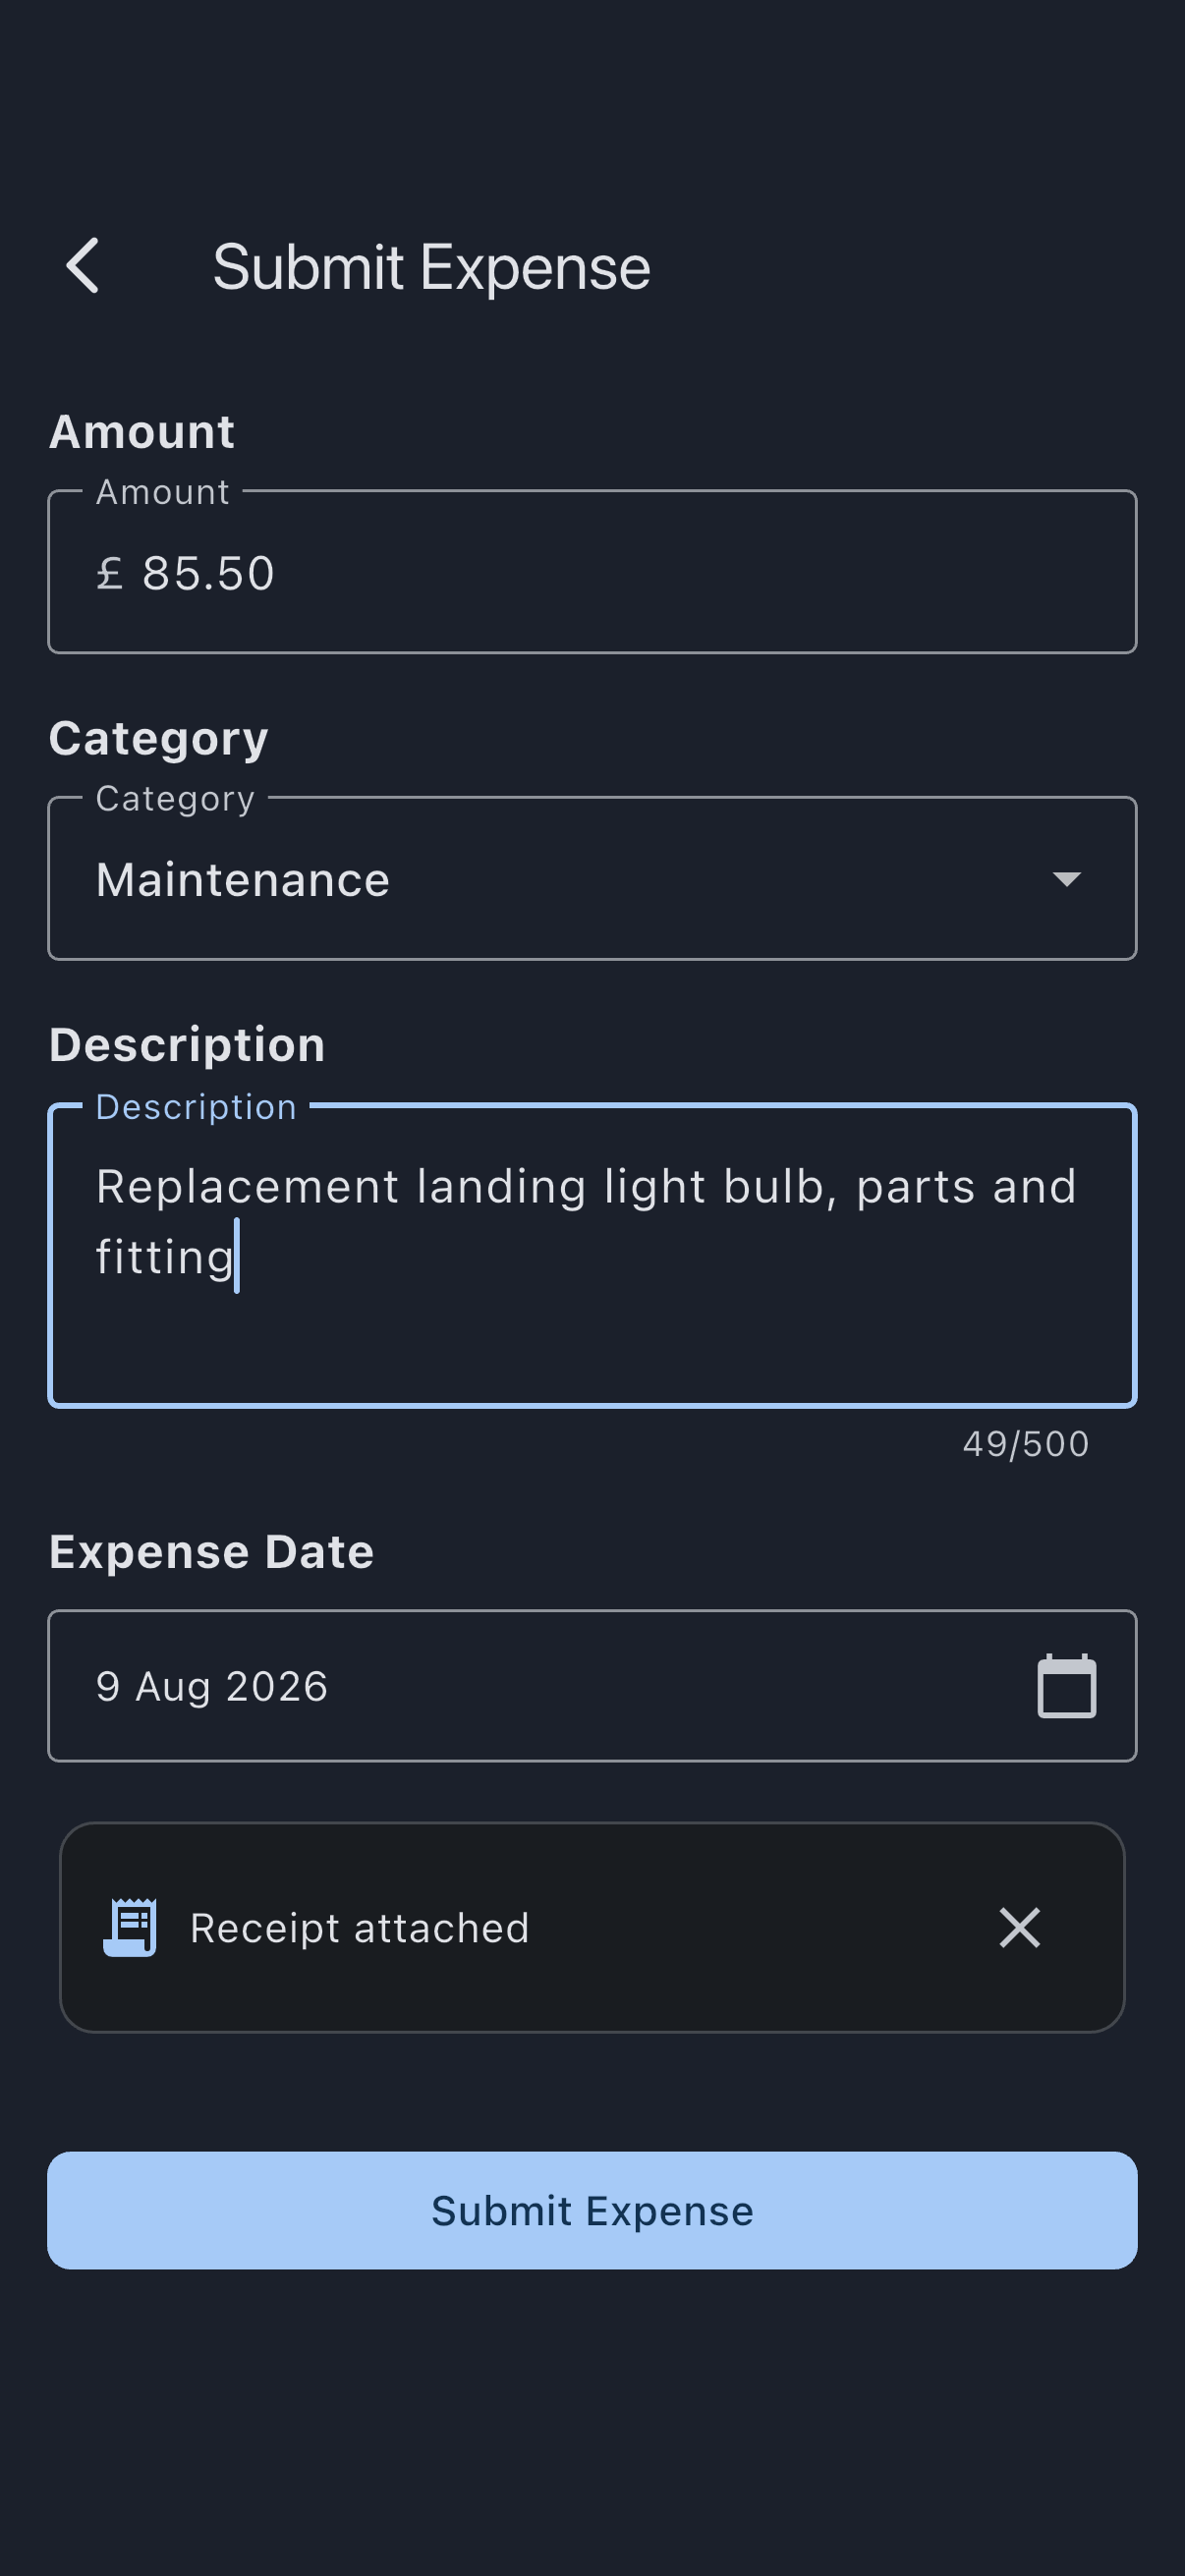
You see Expense submitted for review. The expense appears in the admin’s pending-expenses queue.
Fuel expenses
Section titled “Fuel expenses”Picking Fuel as the category, with a booking link in scope, switches the form into a fuel-aware layout. The booking link arrives automatically when you tick I paid for this fuel personally on a usage log (see Log a flight for that handoff).
What changes:
- Reimbursement appears at the top as a prominent figure in your syndicate’s currency (the amount you’ll be paid back).
- Quantity + fuel unit capture the litres / gallons uplifted, defaulting to the asset’s preferred unit.
- The middle of the form shows either:
- A fixed rate per unit (read-only) when your syndicate has set a “home airfield rate” for the asset. The reimbursement is computed as
quantity × rateregardless of what you paid at the pump. You gain when you find cheaper fuel; you absorb the cost when you refuel somewhere expensive. Receipts are still useful as audit, but the receipt total does not drive the reimbursement. - An editable receipt total when no fuel rate is in force. The reimbursement mirrors the total. This is the existing behaviour.
- A fixed rate per unit (read-only) when your syndicate has set a “home airfield rate” for the asset. The reimbursement is computed as
- Receipt currency: a dropdown lets you pick a different currency for a receipt picked up abroad. The reimbursement field then becomes editable in your syndicate’s currency.
Receipt OCR
Section titled “Receipt OCR”Attaching a receipt image in fuel mode runs on-device OCR (Apple Vision on iOS, ML Kit on Android, both offline). When values can be read, the form pre-fills the quantity, the receipt total, and (for foreign receipts) converts to your syndicate’s currency via a daily exchange rate. A small ⓘ icon appears next to each pre-filled field; tap it to see where the value came from (e.g. “Converted from 15.00 US gal on the receipt” or “$150.00 USD → £111.55 at 0.7437 on 26/05/2026”).
OCR is a typing shortcut, not validation: every field stays editable, the icon is informational, and you confirm the values by submitting. If OCR can’t read the receipt the form opens empty and tells you to type the values; if a foreign-currency rate can’t be fetched it tells you to type the reimbursement amount manually. On the web the form skips OCR entirely.
If it goes wrong
Section titled “If it goes wrong”- “Amount is required” / “Enter a valid number”: amount must be a positive number.
- “Description is required”: enter at least one character.
- “Select a category”: pick one of the listed categories.
- “Failed to upload receipt”: retry; the form stays open with your other values preserved.
- “Receipt total is required”: in fuel receipt-mode, the total must be filled in (it determines your reimbursement).
- “Couldn’t read receipt. Please enter values manually.”: OCR ran but couldn’t pull useful fields. Type them yourself.
- “Couldn’t fetch exchange rate. Enter the reimbursement amount manually.”: FX lookup failed. Receipt total and currency are still captured; type the syndicate-currency amount you want to claim.
- “We couldn’t read the receipt’s currency. Please confirm it.”: OCR pulled a total but missed the currency. Pick one from the dropdown.
- There is no Submit Expense row on the Dashboard tab. You are a viewer on this syndicate, or the syndicate is closed or restricted. Ask an admin.
See also
Section titled “See also”- Transaction types: how an approved expense becomes a credit
- Member balance: where your approved expense lands
- Approve an expense: the admin’s next step